

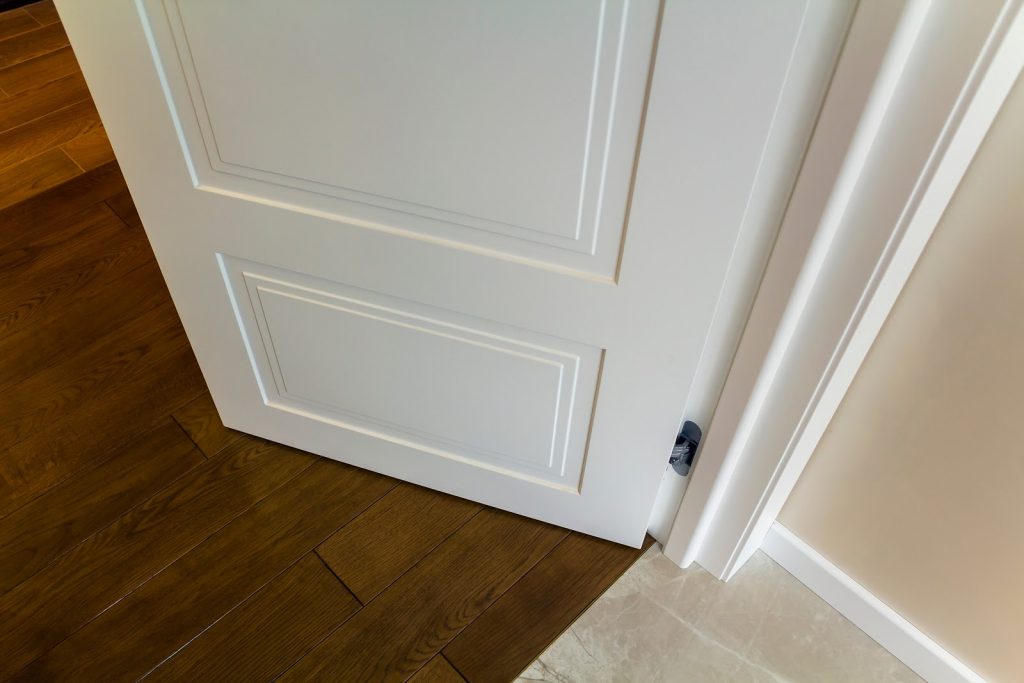
Sometimes referred to as doorposts, door jambs are the legs of your doors. Their name even comes from the French word “jambe” which translates to “leg”. The jamb is the vertical area of the door frame and bears the weight of the door through the installed hinges. When a door’s legs, a.k.a the jambs, get damaged they will either need minor surface repairs or may need to be replaced entirely. Wear and tear after years of use, water damage, cracks and other issues can befall your door jamb making it inoperable or simply an eyesore.
However, just replacing one door jamb (and not the other parts of the door frame) is often not recommended because door frames are usually bought as a set that will work together. Furthermore, replacing the whole frame entirely will ensure that no repairs will be required any time soon. If you have a door jamb that needs to be replaced, it is something you can do on your own. Whether you are a seasoned carpenter or not, follow our easy DIY below and you’ll have a working door jamb in no time.
Quick Note - Before attempting any DIY home improvement projects, make sure that you have taken the necessary safety precautions. Articles like safety goggles and gloves don’t have to be worn but they don’t hurt, especially if this is your first time working on a door jamb!Without further ado, let’s begin!
How Do I Know It’s Time to Replace a Door Jamb or Door Frame?
Before you look into how to build a door jamb or how to replace a door jamb, bear in mind that there are minor damages that can be fixed with a few simple tools and a bit of skill. Minor damages that do not require door jamb replacement include mildly warped frames, small nicks or dents, minor wood rot, and a split jamb (due to physical force).However, for more extensive versions of these damages such as the following, it may be best to replace your door jambs or door frames entirely:
- Several dents, nicks, and gauges
- Extensive wood rot or extensive water damage through most of the frame
- A split in the jamb that is larger than about a third or half of the door frame’s length
In some cases, if it’s not possible for you to do minor repairs or if you just want peace of mind that another repair won’t happen anytime soon, then you can definitely opt to install a new door frame.
First Things First: How Do I Remove My Door from the Door Frame
Whether you are measuring your old door frame to buy a new one, or in the process of installing a new door frame, the first step is to safely remove the door.You can also opt to remove the door for minor door jamb repairs if you want the door fully protected in case any mistakes occur.Here’s how to remove your door:
- Close the door. (This ensures that the door won’t topple and fall once the hinge pins are removed.)
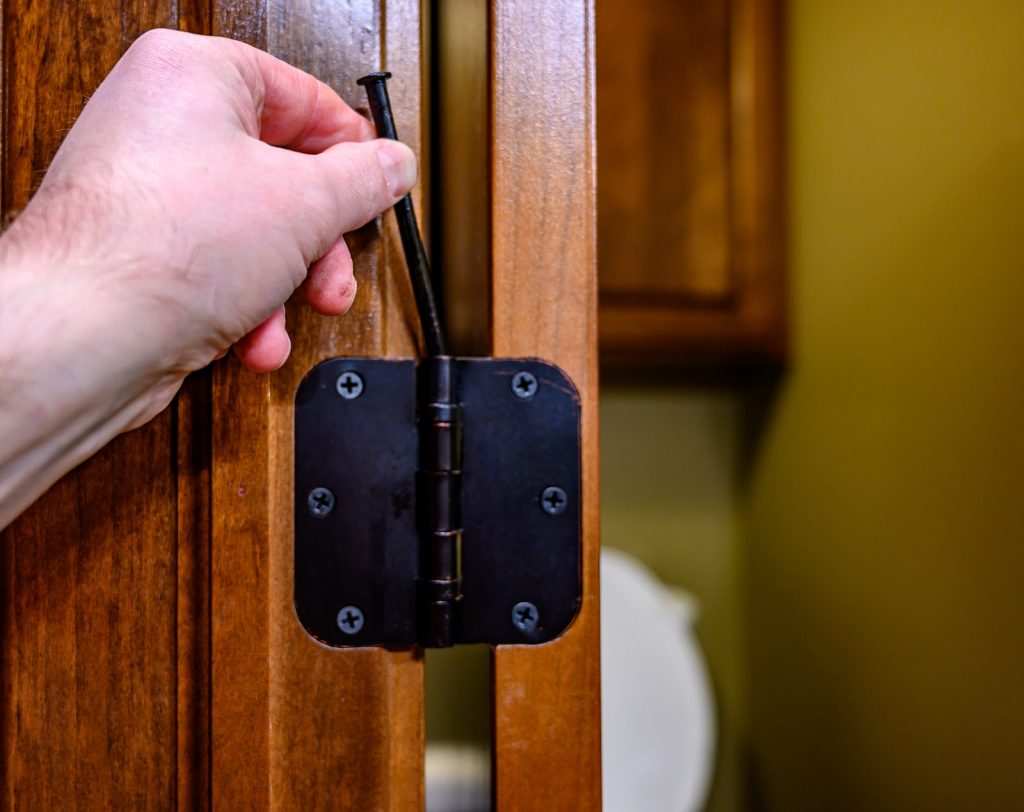
- Lightly tap the hinge pins loose using a nail and hammer.
- Pull the hinge pins out completely.
- Gently open the door partially so that it doesn’t fall down.
- Set the door aside as you get to work on your door jambs or door frame.
If you want to learn how to fix minor damages on a door jamb, click here.
How to Fix Minor Damages on Door Jambs
How to Fix Warped Door Frames or Door Jambs
- After removing the door from the door frame, lightly mark where the door trims are placed around your door frame for easy reinstallation later on.
- Then, use a hammer and chisel to carefully pry off the door moulding from the frame. It’s best to start at the bottom then work your way upwards.
- Next, remove the shims between the door frame and the wall.
- Using a mallet and a flat piece of wood, gently hammer the frame back into shape. This should level out the warped parts of the frame. If not, you may need to consider replacing the door jambs and door frame altogether.
- Reinstall the door and test out the adjustments made.
- Once everything is levelled out and the door closes properly, reinstall the door shims between the door frame and the wall. This helps to tighten the newly-corrected door frame into place. If the old shims are worn or are no longer suitable, you may need to get new ones.
- Next, reinstall the door moulding. Use a nail set to drive the nails in and fill the divot with spackling compound for a neat finish.
How to Fix Minor Nicks or Dents
- Identify the extent of the damaged area.
- Push on all areas of damage to test how severe the damage is and how far it goes. Take away any loose fragments of wood.
- If the damage is just a scratch, you can opt to sand it till it is smooth. But for deeper dents, nicks, and gouges, fill the space using epoxy filler and let it dry overnight.
- Once the epoxy filler is dry, sand it till it’s smooth.
- Finish the repaired area by applying one coat of primer and two coats of paint.
How to Fix Minor Wood Rot
- After removing the door from the door frame, measure the full area of the frame where wood rot has occurred.
- Next, using a chisel or straight oscillating tool, take away all the rotted areas. It’s vital to take out all bits of wood rot that you will find. If the wood rot goes right through the door frame or covers more than a third of the door frame, you may need to consider replacing the door jambs and door frame altogether.
- If the wood rot is shallow, you can fill it with a folded wire mesh of the appropriate size. Screw this wire mesh into place.
- Next, cover the wire mesh with epoxy filler completely. Let this dry overnight.
- Once the epoxy filler is dry, sand it till it is smooth.
- Finish the repaired area by applying one coat of primer and two coats of paint.
How to Fix A Split Jamb
- After removing the door from the door frame, lightly mark where the door trims are placed around your door frame for easy reinstallation later on.
- Then, use a hammer and chisel to carefully pry off the door moulding from the frame. It’s best to start at the bottom then work your way upwards.
- Next, mark 6 inches above and 6 inches below the area of damage.
- Then, using a small hand saw, carefully cut the marked area away.
- Cut timber of the same dimensions as the removed portion. It would be best to use the same type of timber that is used for the existing frame. Avoid pressure-treated wood as these will eventually twist once they dry out.
- Use wood glue to put the new timber in place on the door frame.
- Next, hammer two nails at the top and bottom of the new timber to secure it into place.
- Use a nail set to drive the nails in and fill the divot with spackling compound for a neat finish.
- Then, sand out the newly repaired area until it is smooth.
- Cover the whole repaired area with wood filler to fill the gaps and to fortify it all around.
- Next, sand the filler until the surface is completely smooth.
- Finish the repaired area by applying one coat of primer and two coats of paint.
- Next, reinstall the door moulding. Use a nail set to drive the nails in and fill the divot with spackling compound for a neat finish.
How to Install a Door Jamb to Replace an Old One
As you can imagine, replacing a door frame is a more extensive project than just doing minor door jamb repairs. Therefore, we've broken this up into phases. But before starting, make sure you have the following:
- Wood screws
- Level
- Carpenter square
- Wood shims (also called wedges)
- Power drill
- Screwdriver
- Pry bar
- Nail set
- Spackling compound
- The new door frame
Phase 1: Getting a New Door Frame
Before going off to the store to buy or have a jamb made, make sure to take measurements so you know the size you need. In order to do this, follow these steps.
- Remove the door from the door frame.
- Next, measure the inside width of your door frame at three locations: top, middle, and bottom. Do the same for the length.
- Take these measurements with you as you buy your replacement door frame from the hardware store.
Door frames can be purchased prefabricated at home improvement stores. You can also have one custom-made. Depending on where you buy the door frame, it may come fully constructed or in three separate pieces that you will need to assemble. Assembly instructions will come with it so you don’t have to guess where each piece fits in with the next. Also, if you are having a custom jamb made, it could take time, so prepare to wait a few days for the finished product.
Phase 2: Removing the door and the moulding
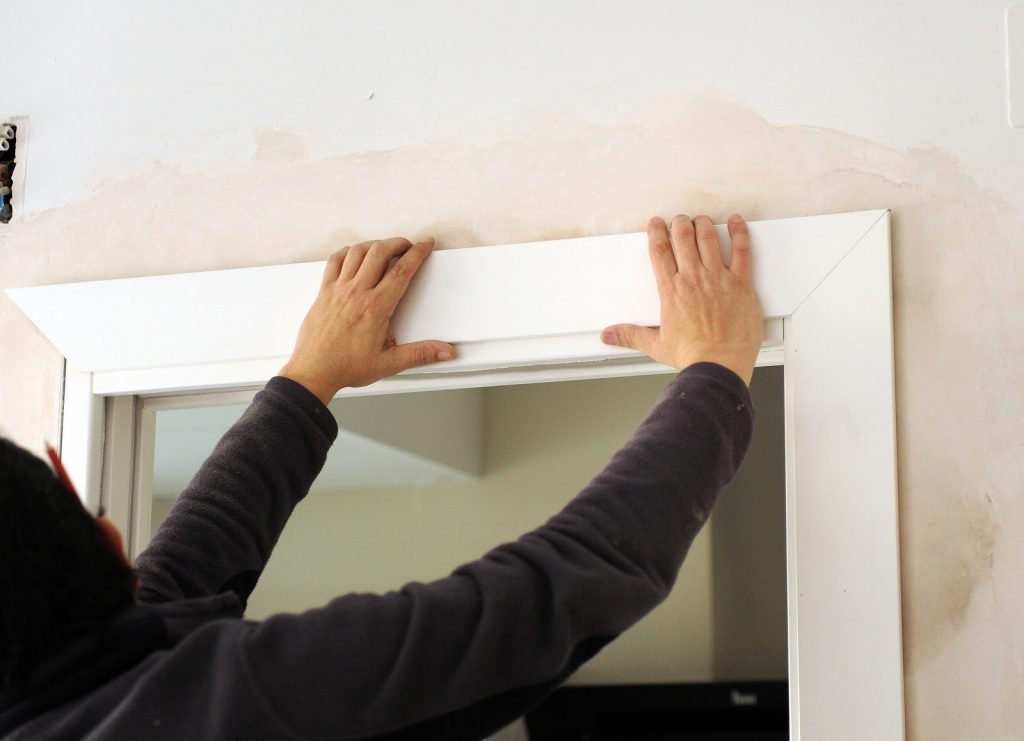
Remove the door’s moulding with a hammer and chisel to carefully pry it off. Start at one end and work your way around while slowly loosening the casing until it’s all been freed. When you’re done, set it aside because you will need to reuse it after you’ve installed the door frame.
Phase 3: Remove the Old Door Frame
Now it’s time to pull the old door frame loose with a screwdriver or pry bar. Depending on the age of your home, the door jambs may be attached with nails. In newer homes, the door jambs can be attached with wood screws. Traditional nails are easily removed with screwdrivers while wood nails may take some extra prying or a power drill to set them free.
Phase 4: Install the New Door Frame
Now you can install your new door frame.
- Put it into place within the door’s opening.
- Screw the frame into place. Then, slide the shims into the space that falls between the wall and the door frame.
- With your level, see if the door is level. Move your shims as necessary and use the carpenter square to ensure that the door jamb is plumb. That’s the carpentry term for “vertically aligned”.
- Now that your door jambs are plumb and level, you can screw them firmly in place. Attach the hinges to the side of the door jambs that has the screws and fix the door to the jamb itself.
- Next, reinstall the moulding. Use a nail set to drive the nails in and fill the divot with spackling compound for a neat finish.
Energy-Efficient, Stylish, and Durable Door Replacements in Toronto
In this article, we’ve covered how to install a door jamb or how to repair minor damages on an existing door jamb. In some cases, however, you may need to replace the entire door and not just the door frame. This is because damage seen on the door frame can also affect the door itself - which is most commonly seen with wood rotting and warping due to prolonged water damage. It is not recommended to DIY when it comes to door replacements if you’re not an expert. You could seriously injure yourself if you don’t have the necessary experience. Contact a professional instead to avoid injuries and accidents.If you need the perfect replacement door and frame installed, Clera Windows + Doors can help. We can replace and install a brand new stylish door in your home quickly and effectively. All you would need to do is sit back and relax while we do all the work. We wouldn’t want it any other way. We have a vast selection of durable and energy-efficient doors that will serve your home well for years to come. We even accommodate customizations!The best part is because we manufacture the doors we sell, we can offer them at the best possible price. So if you have any questions for us, please feel free to contact us or get started with a FREE consultation!

Adam Kwasnicki
With over 16 years at Clera Windows and Doors, Adam brings a wealth of experience in home improvement, sales, and project management. Prior to becoming VP, he personally sold and managed more than $20 million in window and door replacement projects, building on a career that also spans residential and commercial painting, home renovations, real estate, and solar energy. Known for his consultative, no-pressure approach, Adam helps homeowners navigate product options, government incentives, and competitive quotes to find the best balance of design, performance, and budget. At Clera, he also mentors sales consultants, supports marketing initiatives, and assists with customer care and escalations. Outside of work, he has shared his passion for meditation as a teacher in recreation centres and gyms, and continues to volunteer his time to support others in personal growth.


