

Fixing a door with holes is risky. Loose hinges or squeaky door handles are easy to deal with and quick to resolve, but because doors are our homes’ first line of defence, having a damaged door is another problem entirely. Leaving them unchecked is like inviting an intruder into our home. Not to mention, damaged doors are prone to further rot, which may result in you having to replace your door entirely. Not to mention, having a hole in your door looks awful, doesn’t it? That’s why, once there’s damage to your door, you must fix it immediately. If you don’t plan on calling a professional to help (although we recommend doing this first), you can always try to DIY it. In this step-by-step guide, we’ll show you how to fix a hole in a door using simple tools and materials.
Tools You’ll Need to Repair a Hole in Your Door
The good news is you can quickly fix your damaged door with a few standard tools you can find at your nearest hardware store. And no, you don’t need to be a skilled tradesperson to make this repair. Just follow the instructions below, and your door will be fine. But before we can get to the instructions, you’ll need the following materials first:
- Sandpaper;
- Insulating foam;
- Utility knife;
- Paint (same colour as the door);
- Putty knife;
- Auto body or plastic wood filler;
- Pliers;
- Cardboard; and
- Drop cloth.
7 Simple Steps to Repair Your Door
Before getting started, don’t forget to protect your floor! Slide a drop cloth under your door and spread it around the space to help protect it from paint or spackle. Once you’ve got your tools and materials ready, follow these seven easy steps for fixing the hole in your door:
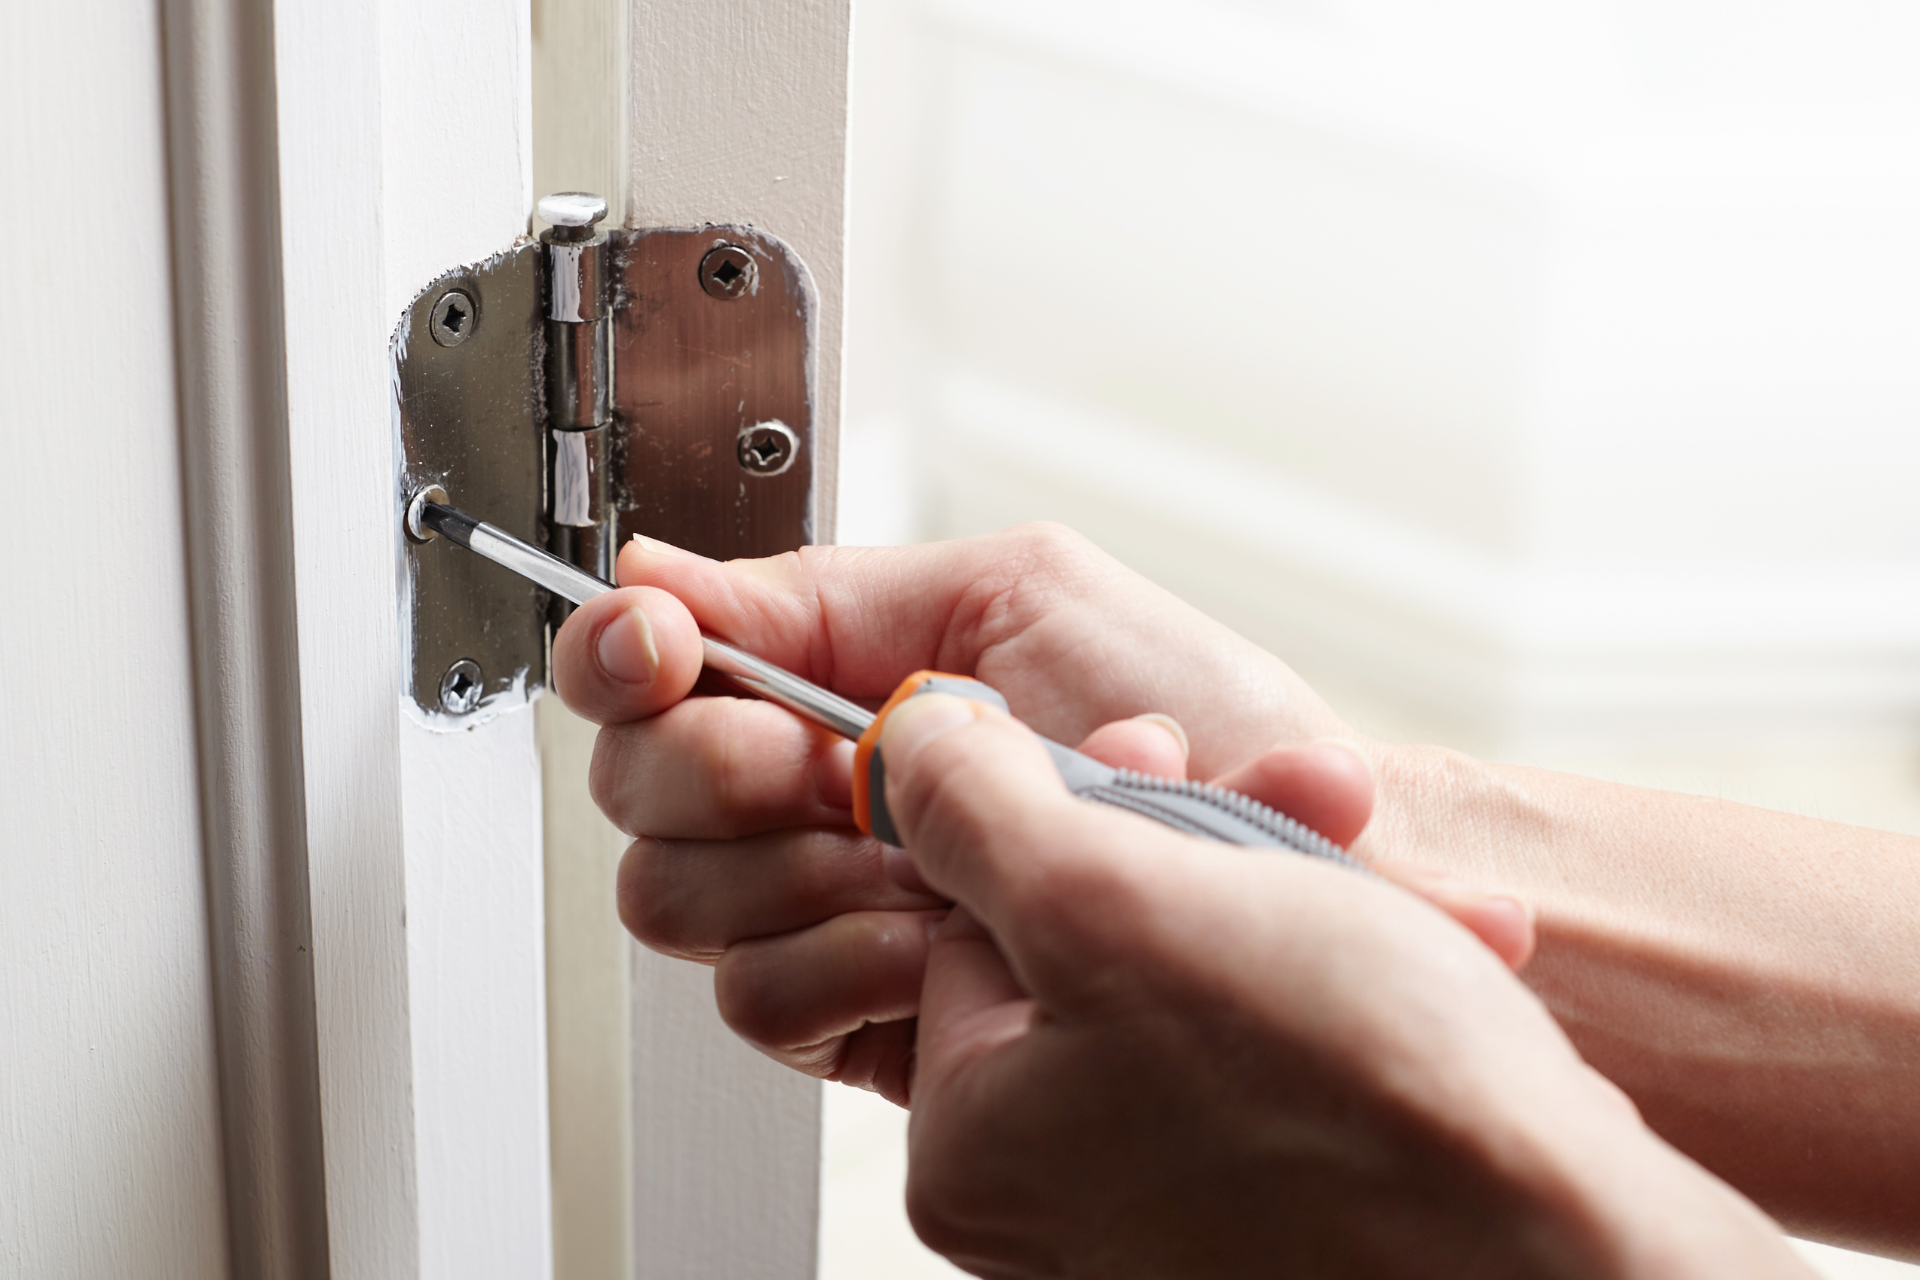
Step 1: Remove the Door off Its Hinges
Lift the damaged door off its hinges, so it’s easier to fix. Simply remove the pin using a hammer, then remove the door and lay it flat on a level surface. The floor works just as well if you don’t have a large workbench or table.
Step 2: Clean the Damaged Area of the Door
Begin by using your utility knife and pliers to remove any debris, dirt, or splinters around the hole to help ensure a clean and smooth surface for the repair. Feel around the area of the hole and apply light pressure to see if you can dent it or if it feels weak. If it does, then the interior wood of the door has collapsed in on itself beyond what’s visible from the outside. If this is the case, you should make the hole bigger using your utility knife until the edges surrounding the damage are stable.
Step 3: Place Cardboard for Support
Cut a strip of cardboard and roll it up before inserting it into the door through the hole. The cardboard provides support inside the door after you patch up the hole. You can also use paper towels as an alternative if you don’t have cardboard readily available.
Step 4: Add Insulating Foam
With the cardboard correctly in place, you should have a hollow area inside the cardboard. Fill that area with expanding foam insulation, but make sure not to overfill it because expanding foam will expand. Overfilling with foam may cause the door to crack.Once you’ve added the expanding foam insulation, leave the door in a safe place so the foam can dry. Take note that this may take a few hours to finish. So, if you’re planning on fixing your damaged door, make sure you do it in the morning.Additionally, if you want to prevent the foam from sticking on the outside of the door around the hole, surround the damaged area with painter’s tape. The foam will rest on top of it, and you can remove it later.After it fully dries, use your utility knife to scrape off excess foam in a clean line. Make sure it’s on the same level as the door's surface.
Step 5: Apply Auto Body Filler or Plastic Wood Filler
Next, apply the auto body or plastic wood filler on top of the insulation foam. Then, smooth the filler off using a putty knife to be on level with the door. Don’t be afraid to apply the filler generously since any excess will get scraped off with sandpaper.
Step 6: Sand The Filler
After the filler has dried for a couple of hours, grab sandpaper and scrape off the excess material. Continue sanding the excess filler until the hole and its surrounding area are smooth to the touch or until the door’s surface and the filled hole is on level with each other.
Step 7: Paint Your Door
Once the door's surface (including the filled hole) is entirely smooth, it’s time to paint over it. Ensure you have an exact colour match for your door. If you can’t find the exact match, maybe it’s time to repaint the entire door. After the paint dries, return your newly fixed door to its hinges. And voilà—your door should look good as new!

Get Durable Doors With Clera
That wraps up our guide on how to fix a hole in a door. But if the damage is more than a small area, it’s time to call the pros and replace your damaged door. Get durable, moisture-resistant, and energy-efficient products from Clera Windows + Doors! Having improved over 250,000 homes, we are one of Canada's most trusted manufacturers and sellers of windows and doors. If you need more information about our offers, call us today!

Adam Kwasnicki
With over 16 years at Clera Windows and Doors, Adam brings a wealth of experience in home improvement, sales, and project management. Prior to becoming VP, he personally sold and managed more than $20 million in window and door replacement projects, building on a career that also spans residential and commercial painting, home renovations, real estate, and solar energy. Known for his consultative, no-pressure approach, Adam helps homeowners navigate product options, government incentives, and competitive quotes to find the best balance of design, performance, and budget. At Clera, he also mentors sales consultants, supports marketing initiatives, and assists with customer care and escalations. Outside of work, he has shared his passion for meditation as a teacher in recreation centres and gyms, and continues to volunteer his time to support others in personal growth.


